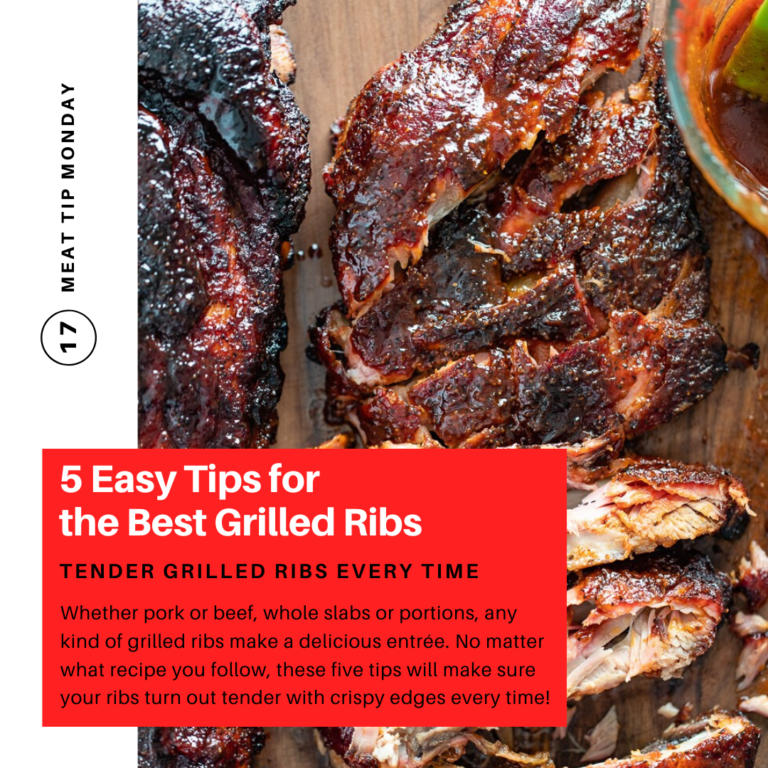
5 Easy Tips for the Best Grilled Ribs
05.18.2020• Tips & Tricks
After burgers, brats, and steaks, ribs are probably next on the list of meat most grillers want to master. And who can blame them? Whether pork or beef, whole slabs or portions, any kind of grilled ribs make a delicious entrée. No matter what recipe you follow, these five tips will make sure your ribs turn out tender with crispy edges every time!
1. Remove the Membrane
On the back of most ribs, there is a thin connective piece of tissue called the membrane or silver-skin. It’s best to remove the membrane from the ribs otherwise it can become tough and rubbery during the grilling process. To do so, slide a dinner knife under the membrane and over a bone at one end of the rack. Next, lift and loosen the membrane until it tears. Then, grab the edges of the membrane with a paper towel and pull it off. The membrane may come off in one whole piece or you may need to remove it in smaller pieces.
2. Don’t Forget the Dry Rub
Dry rubs are typically made with herbs, spices, salt, pepper, and sometimes sugar; even a dry rub of plain salt will help the ribs be as flavorful as they can be! It’s important to not forget dry rubs because the fat on the outside of the ribs will melt and meld with the dry rub which forms a delightful little crust. The sugar in a dry rub creates even tastier ribs because it allows the outside of the ribs to caramelize and the Maillard reaction (the technical term for why browned meat is so good!) to occur.
If you are making your own rub, use about 1/2 to 1 teaspoon of salt for every pound of meat. Also, a bit of paprika (sharp, semi-sharp, or smoked paprika) adds some nice color and taste to the mix and the cooked ribs. Keep in mind that a little seasoning goes a long way: you can always add more dry rub if you need to, but you can’t really take it off if you added too much. The same can be said about using woods to add a smoky flavor to the ribs: too much smoke might end up making the ribs taste bitter.
3. Grill Low and Slow
Nearly every rib recipe calls for the low and slow, indirect grilling method. Grilling ribs over direct, high heat will result in overcooked and tough meat whereas indirect, low heat will create tender meat that will easily tear off of the bone. To make a “cool zone” on a charcoal grill, place all the coals on one side of the grill and place the ribs on the opposite side without coals. This way, the outside of the ribs don’t burn before the inside is fully cooked.
4. Use a Drip Pan
A drip pan helps minimize flare-ups, prevent burned ribs, and keep the cool zone from overheating. Place a drip pan on the grill grade underneath the cool zone where the ribs will be. You can purchase ready-made drip pans or make your own out of aluminum foil.
5. Wait to Put on the Sauce
Although quality grilled ribs don’t necessarily need a sauce, a lot of grillers love to use one anyway! If you choose to add sauce to your ribs, wait to put it on at the end of the grilling process. Because most rib sauces contain a least some amount of sugar, honey, or maple syrup – all of which burn easily, your ribs will have a layer of black char on their surface.
To avoid a burnt and crusted sauce, only add the sauce at the very end of the grilling process. After brushing the sauce onto the ribs, they will usually take another 10 to 30 minutes depending on your grill’s temperature. You can also wait until you’ve taken the ribs off the grill before putting the sauce on them.
